Learning how to draw a playground is a very useful skill. They are great for kids to learn basic drawing skills and give them the chance to practice their creativity. They are also perfect for young children who want to start drawing on their own.
For adults, they are also great to use as a tool if your children want to learn how to draw something from scratch. They are also great to use as a template for kids if they want to practice their drawing skills and make their own pictures.
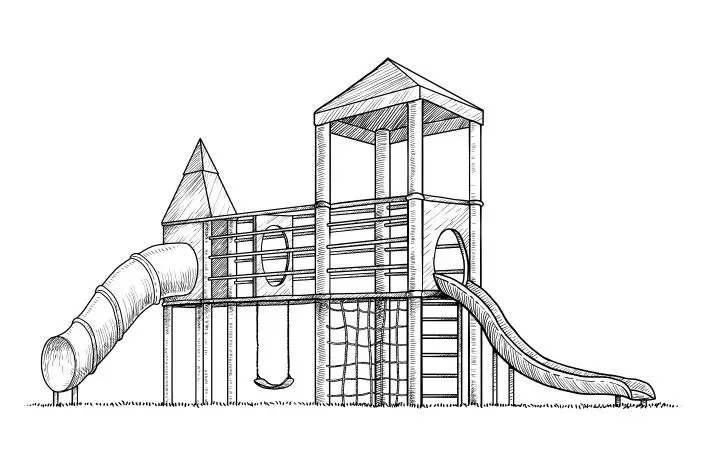
Here’s how to draw a playground:
- Start by putting two squares in each row. Turn the rows upside down and shape them in to look like a letter V. So, insert the shafts in with short arrows and insert them into the ends. When you connect the points of each V, you must draw a set of parallel lines.
- Draw a rectangle between the legs of the swing set. Between each pair of lines, draw two more lines, one on each side of the swing and one on the corners of the swing, in order that the swing chair appears to be three-dimensional. On each side of the swing, draw a V that is upside down so that you can see how the supporting cables or ropes are connected.
- Draw a rectangle and put it in front of the swing set. It is necessary to draw it diagonally.
- What you should also do is to add parallel lines so that this object becomes three-dimensional.
- Take a detailed look at your seesaw and erase as much as necessary the lines on it. Draw two upside down U-shaped lines, connecting the ends of these lines with a straight line. These are the bases that you will use when you make the seesaw. Make a small circle in the center of the base of the cart. Put the mat on a curved line and it will appear that the mat is three-dimensional. Draw a T-shape and put it on the wood, with the result that the handles will be positioned on top of the seesaw.
- Then draw two parallel lines, one that is V-shaped. One of them must be dragged upside down and the other one should be flipped over. Then, attach the two ends of the rope.
- There are four parallel lines, one at each end of each line. That was the slide that slid down. Add a few hatch marks at the bottom of the slide, in order that the slide will be shaped.
- Draw two more V-shaped lines, which are upside-down, in order to support the opposite side of the slide.
- Draw two parallel lines, in order that they are between the opposite sides of the V-shaped lines.
- Then set your scene in a landscape that includes grass, shrubbery, and trees. So for making the tufts of grass, take some short curved lines and join them at sharp points in order to make tufts of grass. On top of bushes and on the tops of trees, outline these clouds that have U-shaped shapes. In the area where the trees are planted, add some curved lines to make the trunks of the trees, and also to define the entire playground area.
- Paint your playground!
(Visited 264 times, 1 visits today)
